Book Your Wedding Dream Team. Let’s Get Started Below!
Are you an Event or Production Pro? Apply to join us!


Book Your Wedding Dream Team. Let’s Get Started Below!
Are you an Event or Production Pro? Apply to join us!
Are you an Event or Production Pro? Apply to join us!
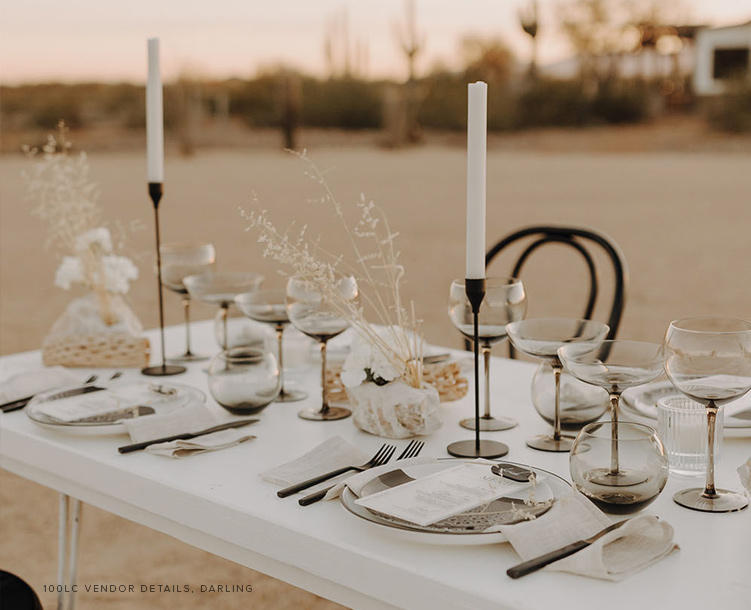
“We are looking for a buffet style and we are open to different types of cuisines. We would love passed appetizers, a salad, one or two proteins, veggies, and a starch.”
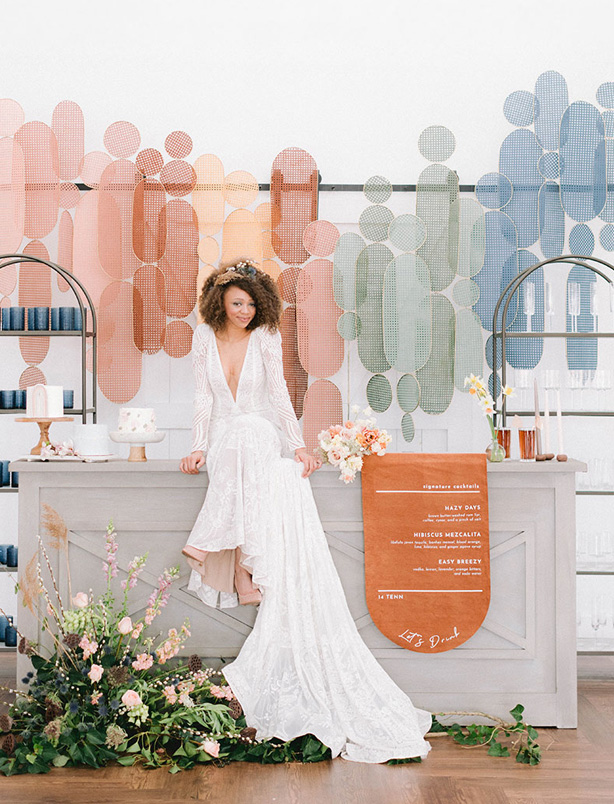
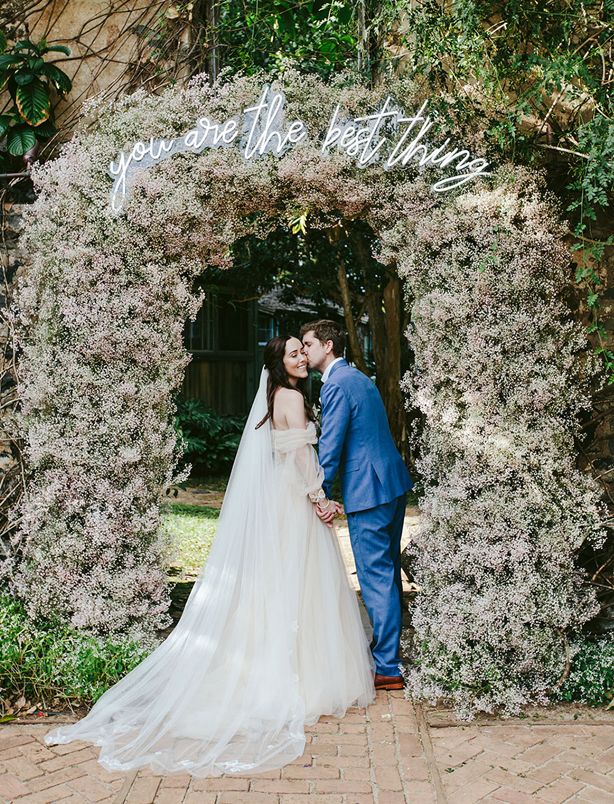
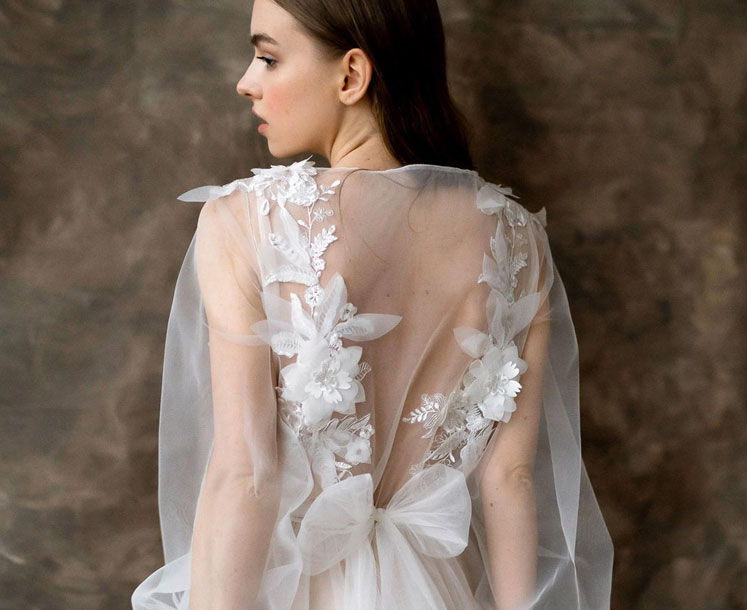
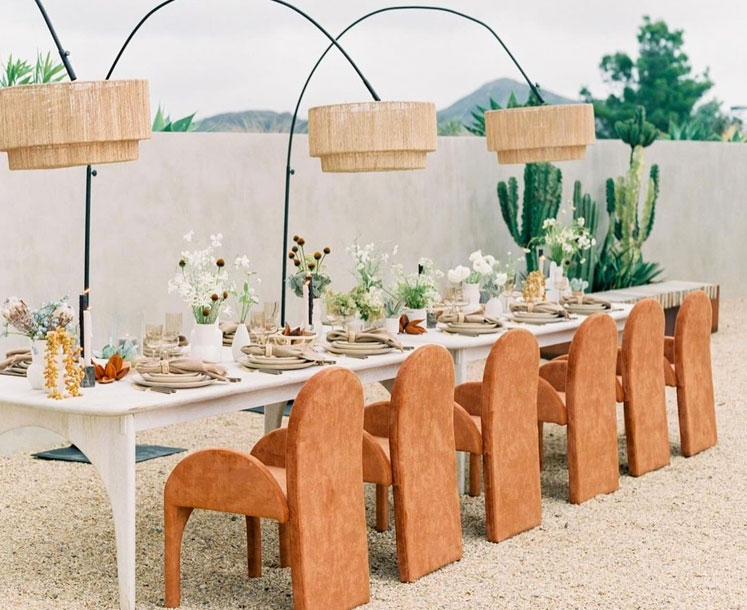
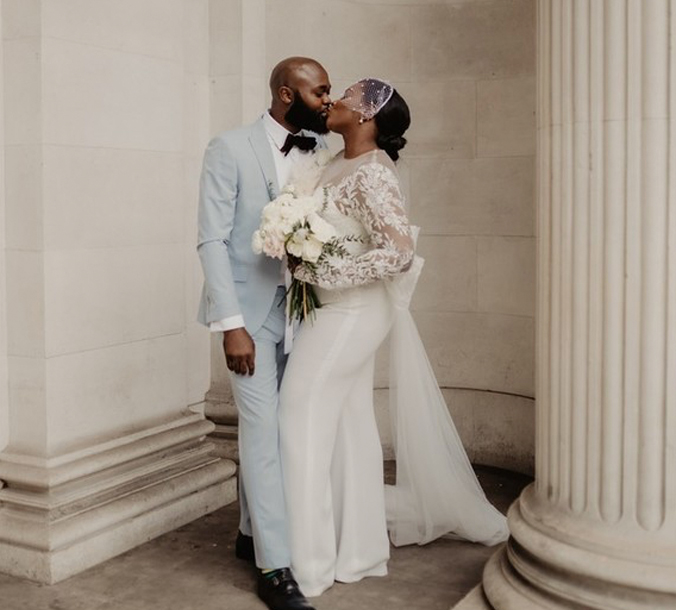
“White, minimalistic, a lot of greenery”
“Bride bouquet & tabletop florals in bud vases.”
“Hello, we are looking to hire someone to style/design our twin’s first birthday party. Thank you!”
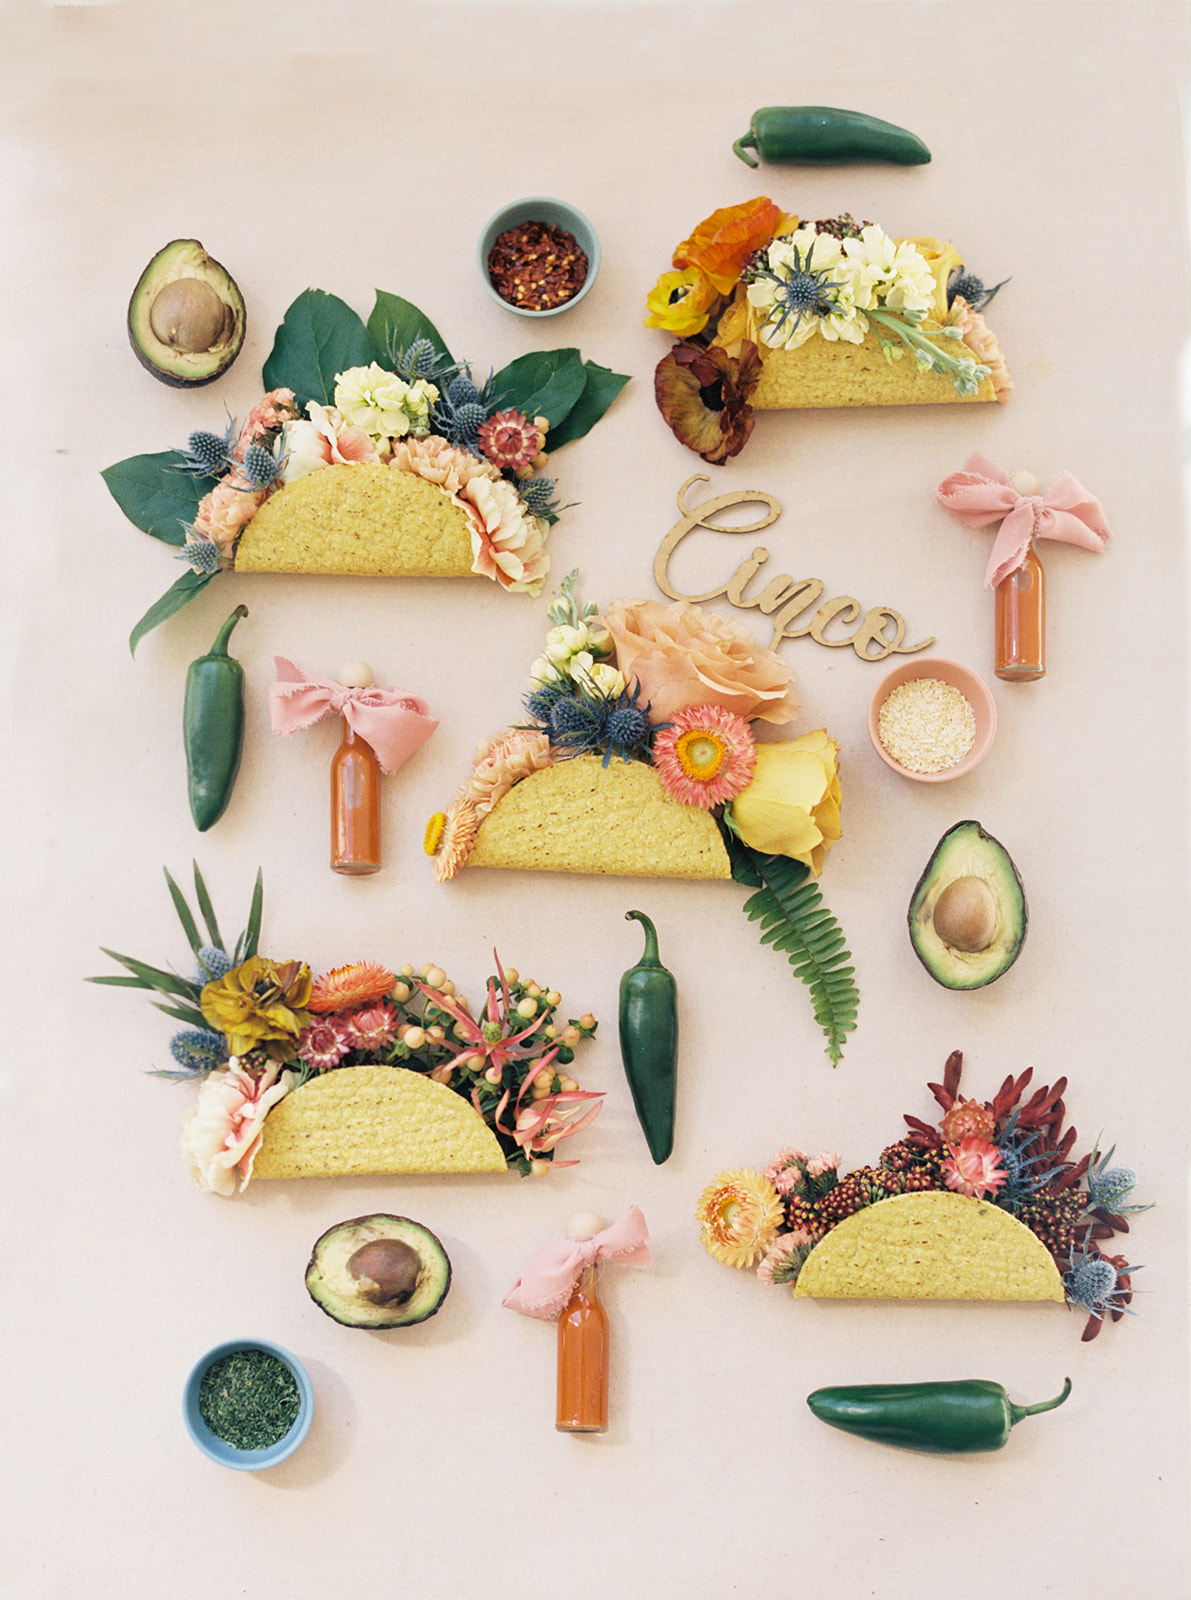
Little Natalie’s “Taco Bout Five” Cinco de Mayo birthday party is so beautiful and well considered that you’re sure to find inspo for just about every special event here within mama and designer Nicole of Nicole Colwell Photography‘s images shared below. From the The Ivy Rose Barn adorned in flowers by Grace and Greenery to…
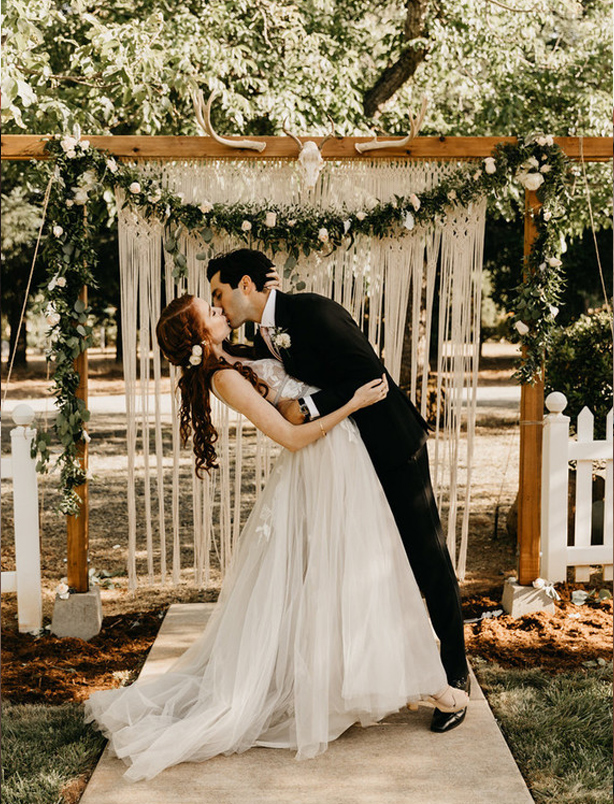
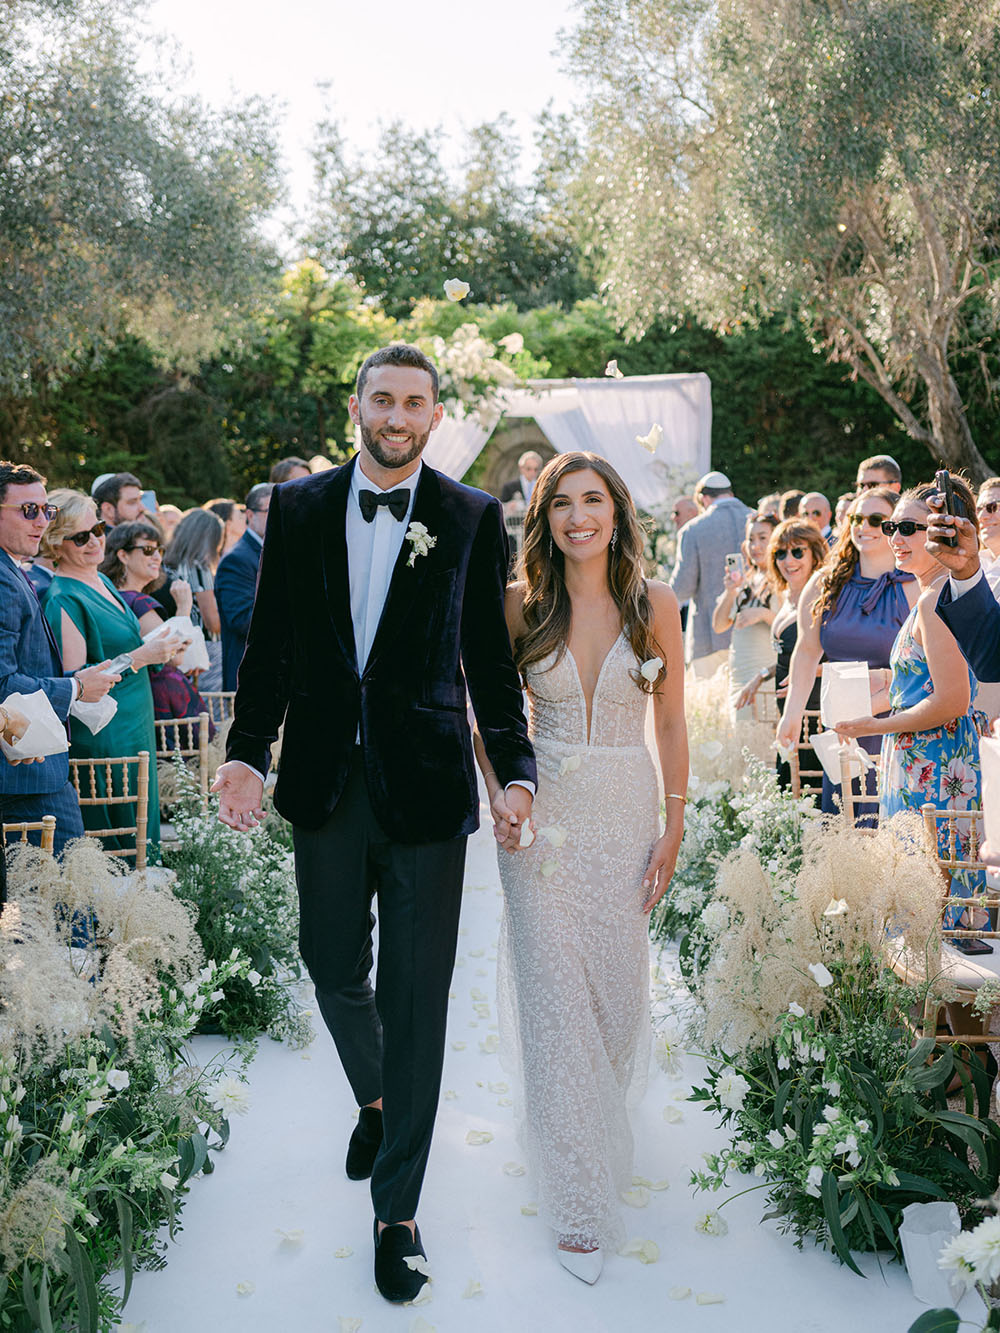
When your venue is as stunning as the Bastide du Roy on the French Riviera, you already have all the inspo you need for a fairytale wedding. Bride Tara and groom JJ loved the idea of celebrating their nuptials with a French garden party, so they enlisted the team at Wanderlust Wedding to bring it…
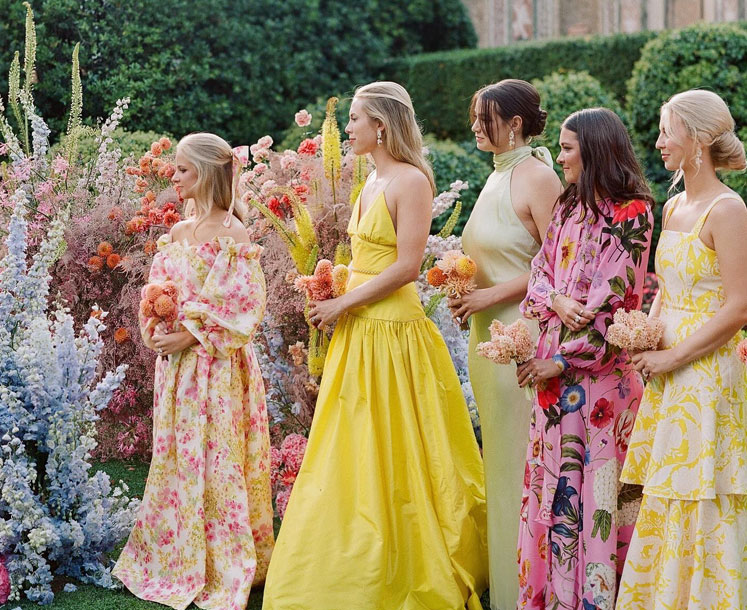
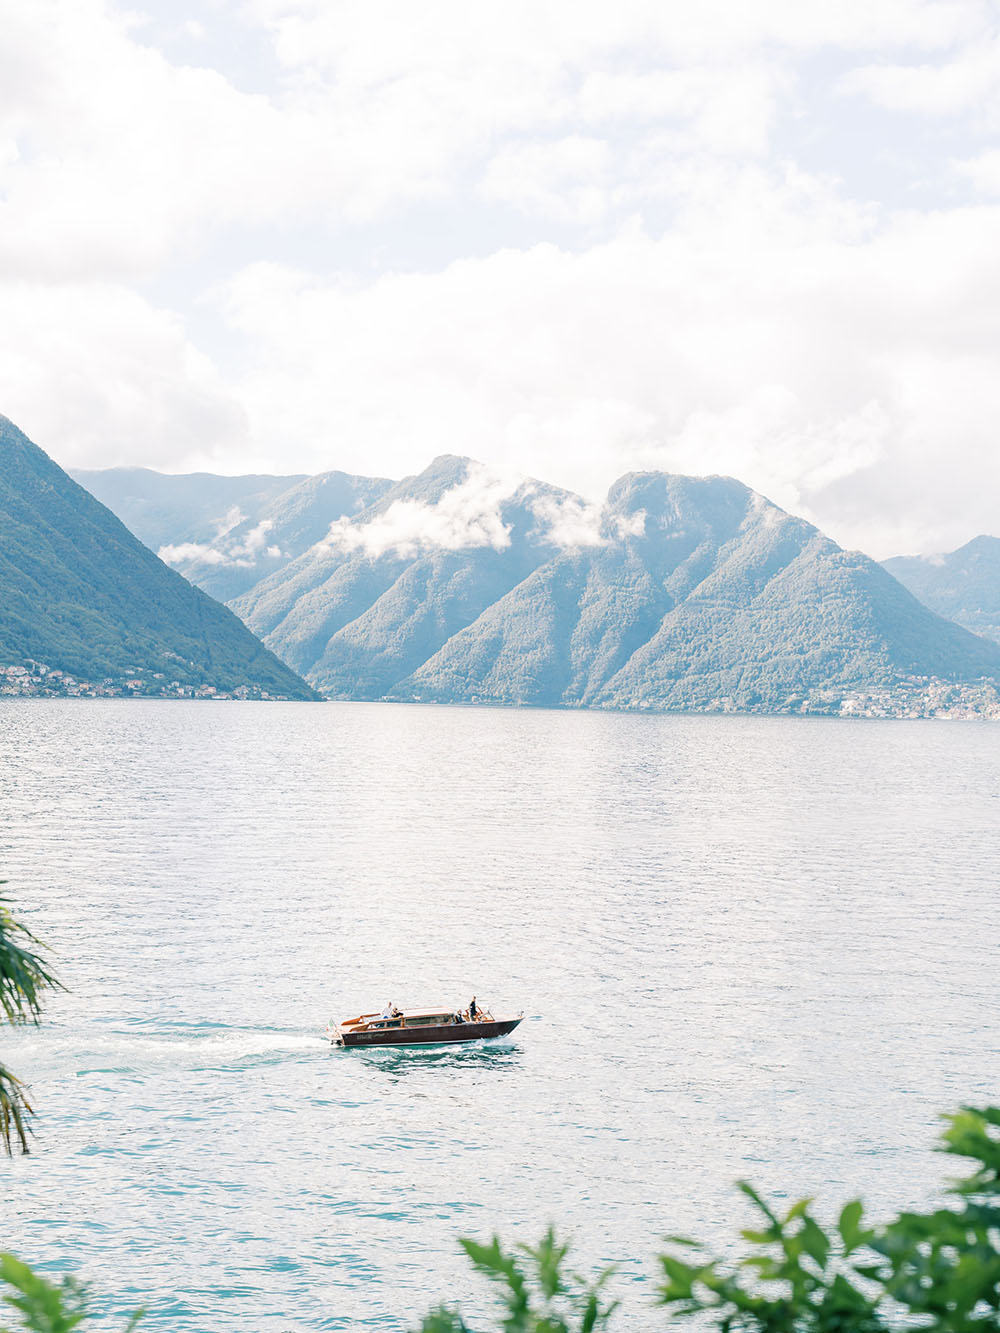
This lush, romantic editorial is the epitome of a modern day fairytale. With dreamy images by our newest 100LC guide member, Derek Preciado Photography captured against the backdrop of a historic Lake Como villa, you’ll want to step into every photo. Destination wedding pros AMV Weddings channeled the elegance that Italy’s Villa del Balbianello and…
THE
100
LAYER
CAKE
EVENT
PRO
GUIDE
Good things come to those who subscribe
![]()