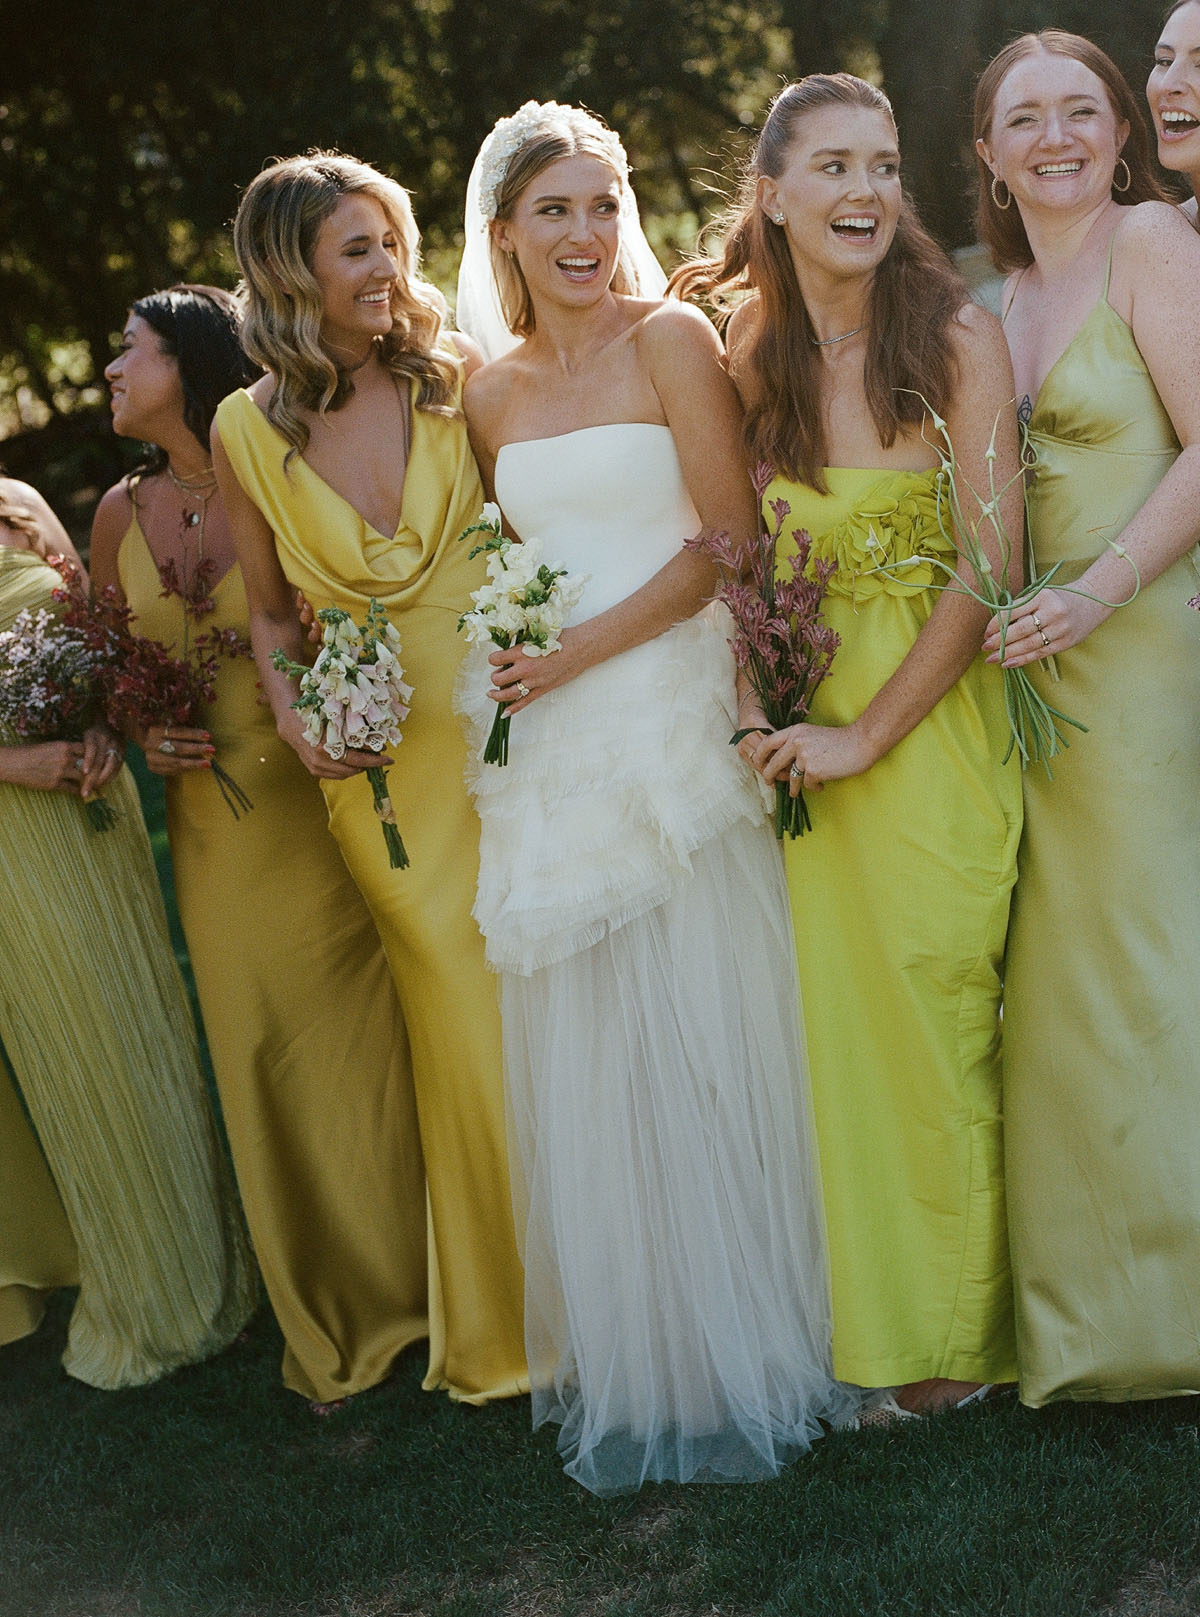
Guess what, Cakies? Designing and styling tablescapes just got a whole lot easier. Our friend and wedding planner/designer Robin Baab Olascoaga of Los Angeles based RMBO Collective is here spilling the deets on how to properly set and style a table. After 20 years in the biz, and countless beautiful tablescapes, she knows a thing or two! And once you learn the basics, you’ll be able to style a table for any event with any budget.
PS To learn more about setting and styling a table, you can enroll in Robin’s new e-course. Be sure to use the discount code just for 100LC readers at the very bottom of this post!
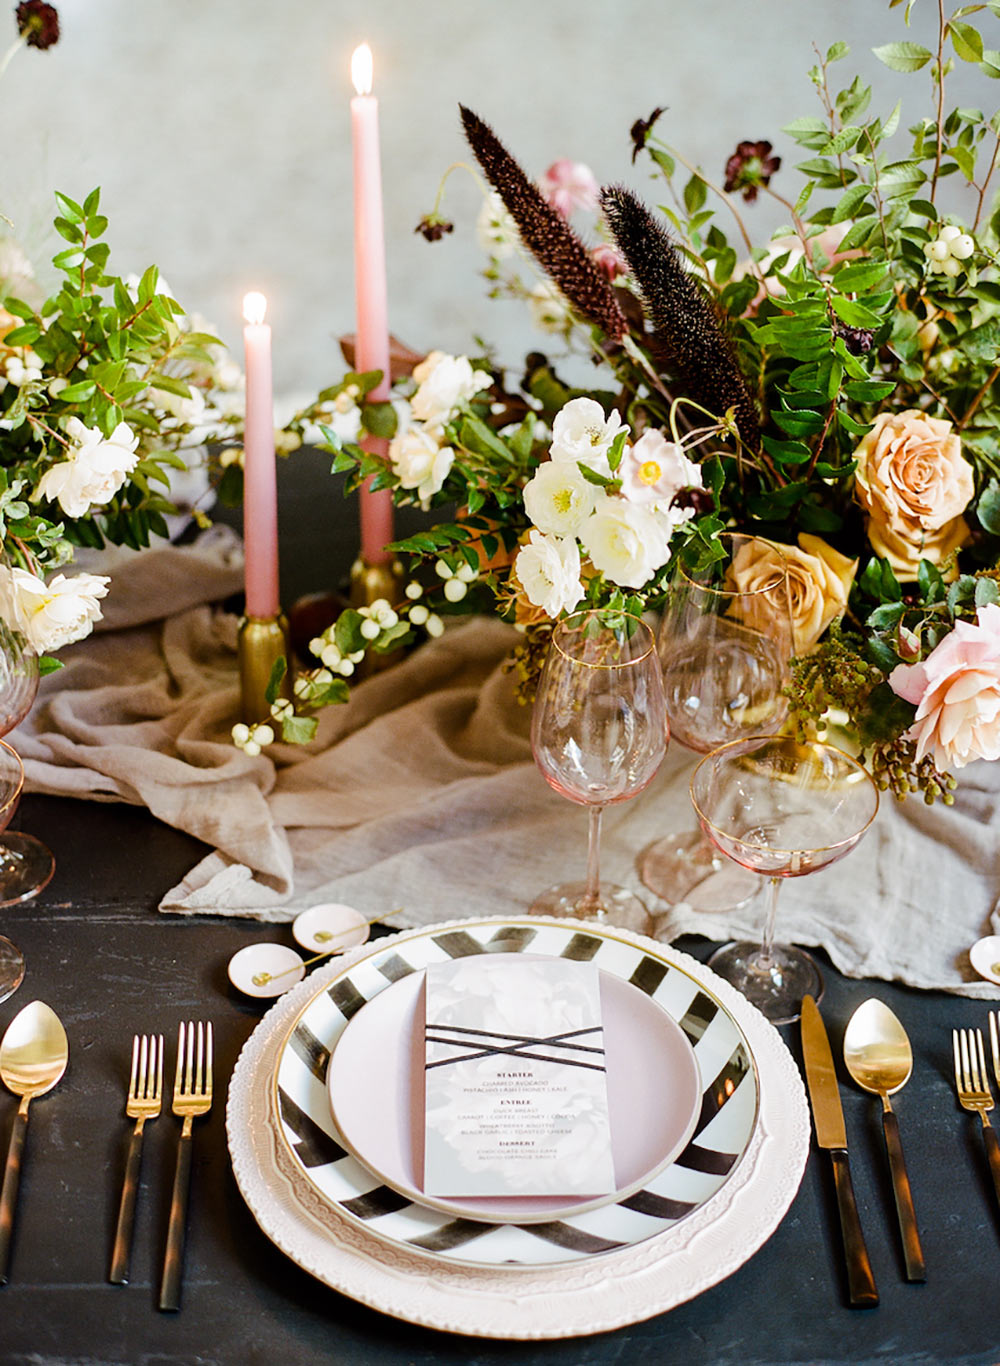
How to set a table. You’ll need to know which items should make up your place setting. Here’s Robin’s handy checklist to learn which pieces you’ll need to set the table, depending on the formality of your event and what’s being served.
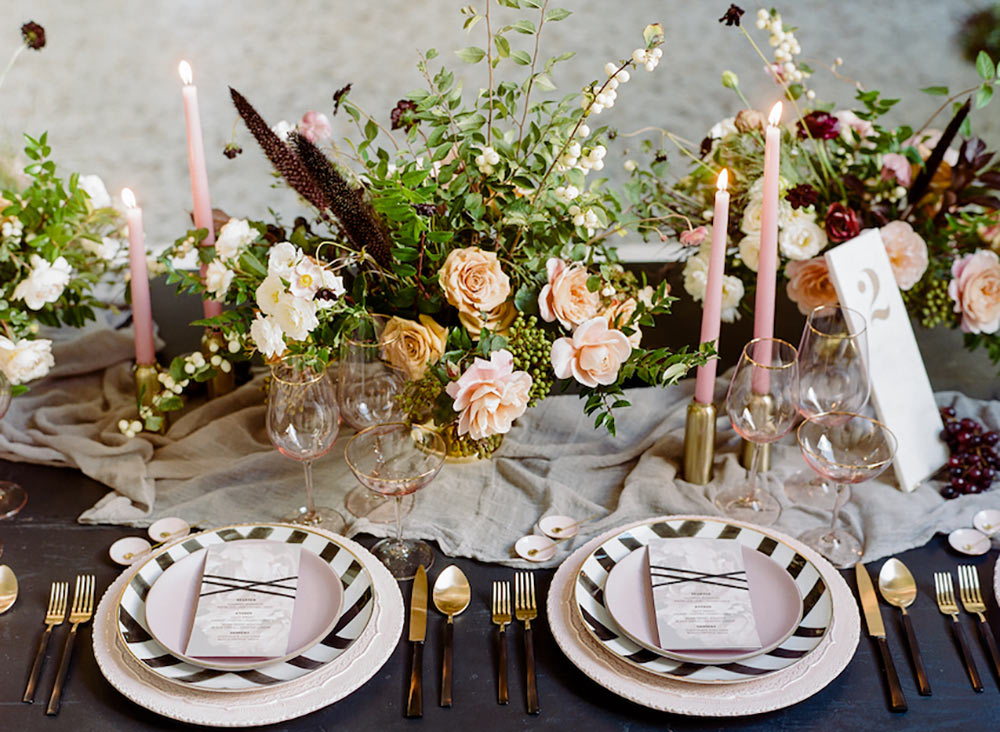
(Above photos by Rebecca Yale Photography)
You need to properly configure these elements into your place setting. There truly is an etiquette to properly setting the table and unfortunately, I see people getting it wrong all the time. If you don’t get it right, your work can come off looking amateurish and we don’t want that for you! So today you’ll learn the proper way to set a tablescape that will highlight your knowledge and attention to detail. Download my table setting etiquette guide for easy reference in setting your table on the go!)
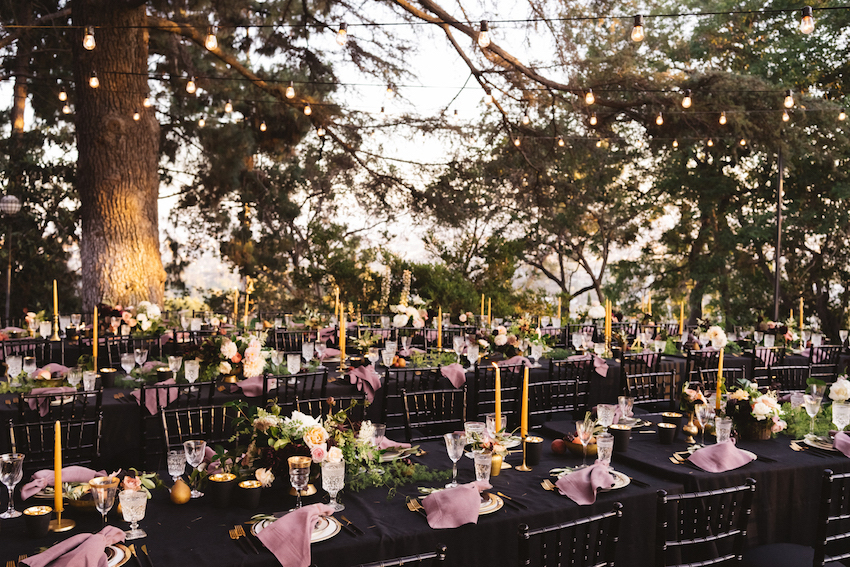
(Above photo by Hailley Howard)
You won’t need all these pieces with every table, but familiarize yourself with them for when the time comes!

(Above photo by Hailley Howard Photography)
China. Pre-setting china on the plate is a matter of preference and requires a discussion with your catering team to ensure efficient service of the meal. Stack the china according to the course, so salad course would be on top, followed by entree course and then, if you prefer, a charger as the base which stays in place for the duration of the meal. The bread and butter plate sits at the top left of the setting just above the forks.
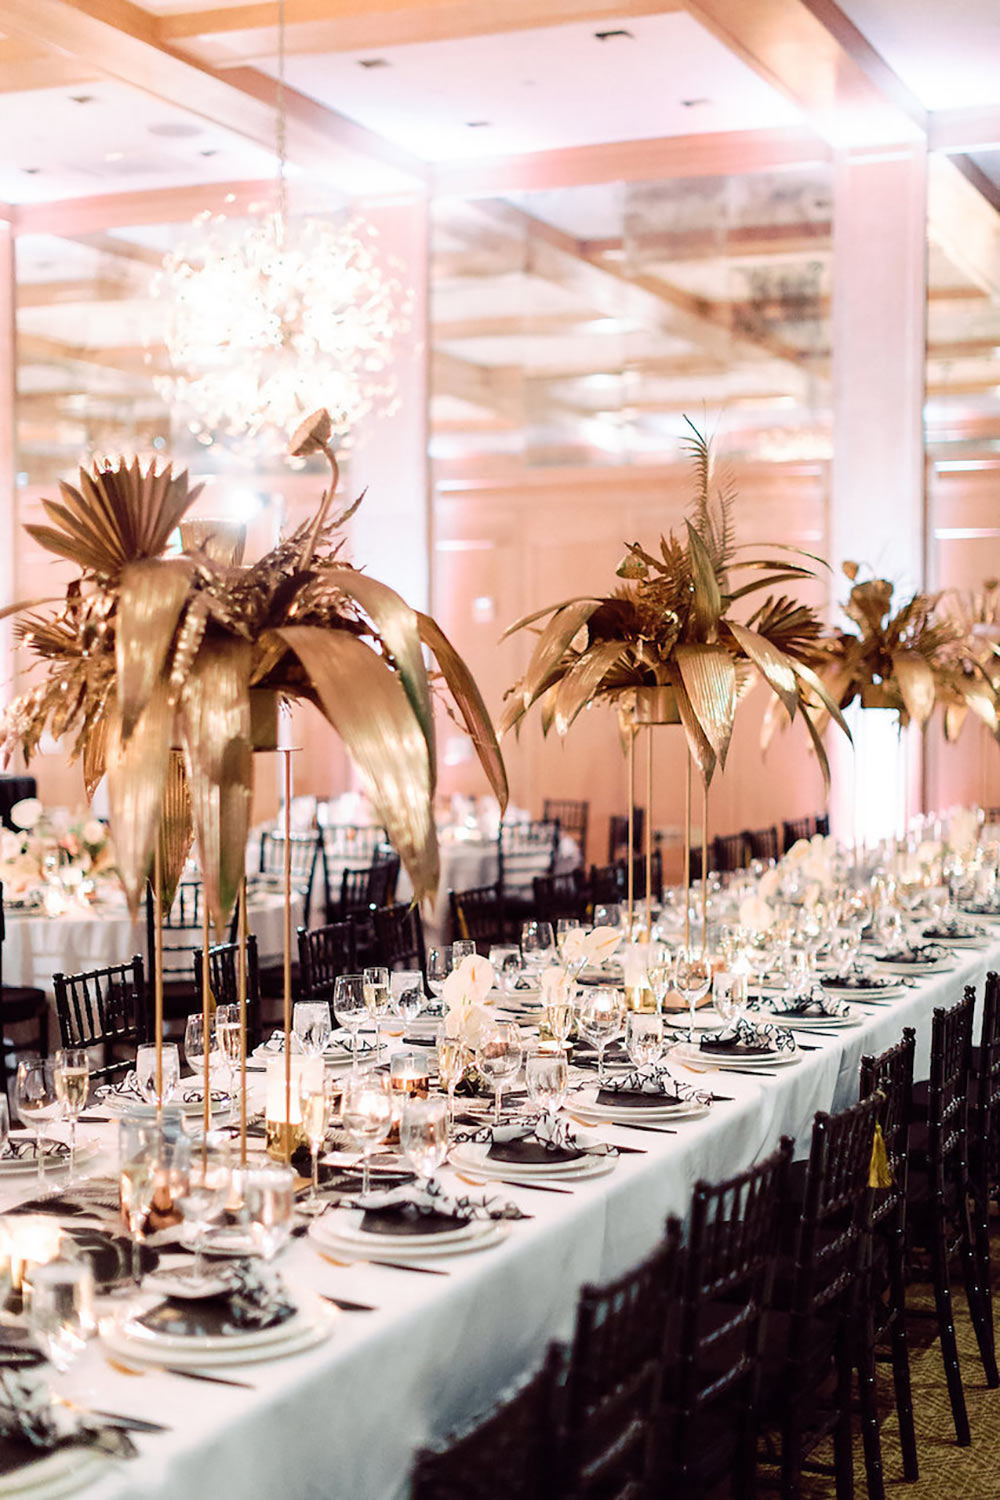
Flatware. Flatware is set to follow the progression of meal courses, starting at the outer edge of the setting and working inwards towards the plates. Salad course utensils are on the outside of entree course utensils because, unless it’s an extremely fancy meal, the salad course comes before the entree course. If you’re not having a fish course then don’t include a fish fork. If you’re not serving dessert at the dining table but rather at a station elsewhere in the room, then no need to set the dessert utensils here.
Serving Tip: Only include utensils that directly correspond with your meal. If you’re serving dessert at a dessert station, not the table, then no need to include it in your place setting.
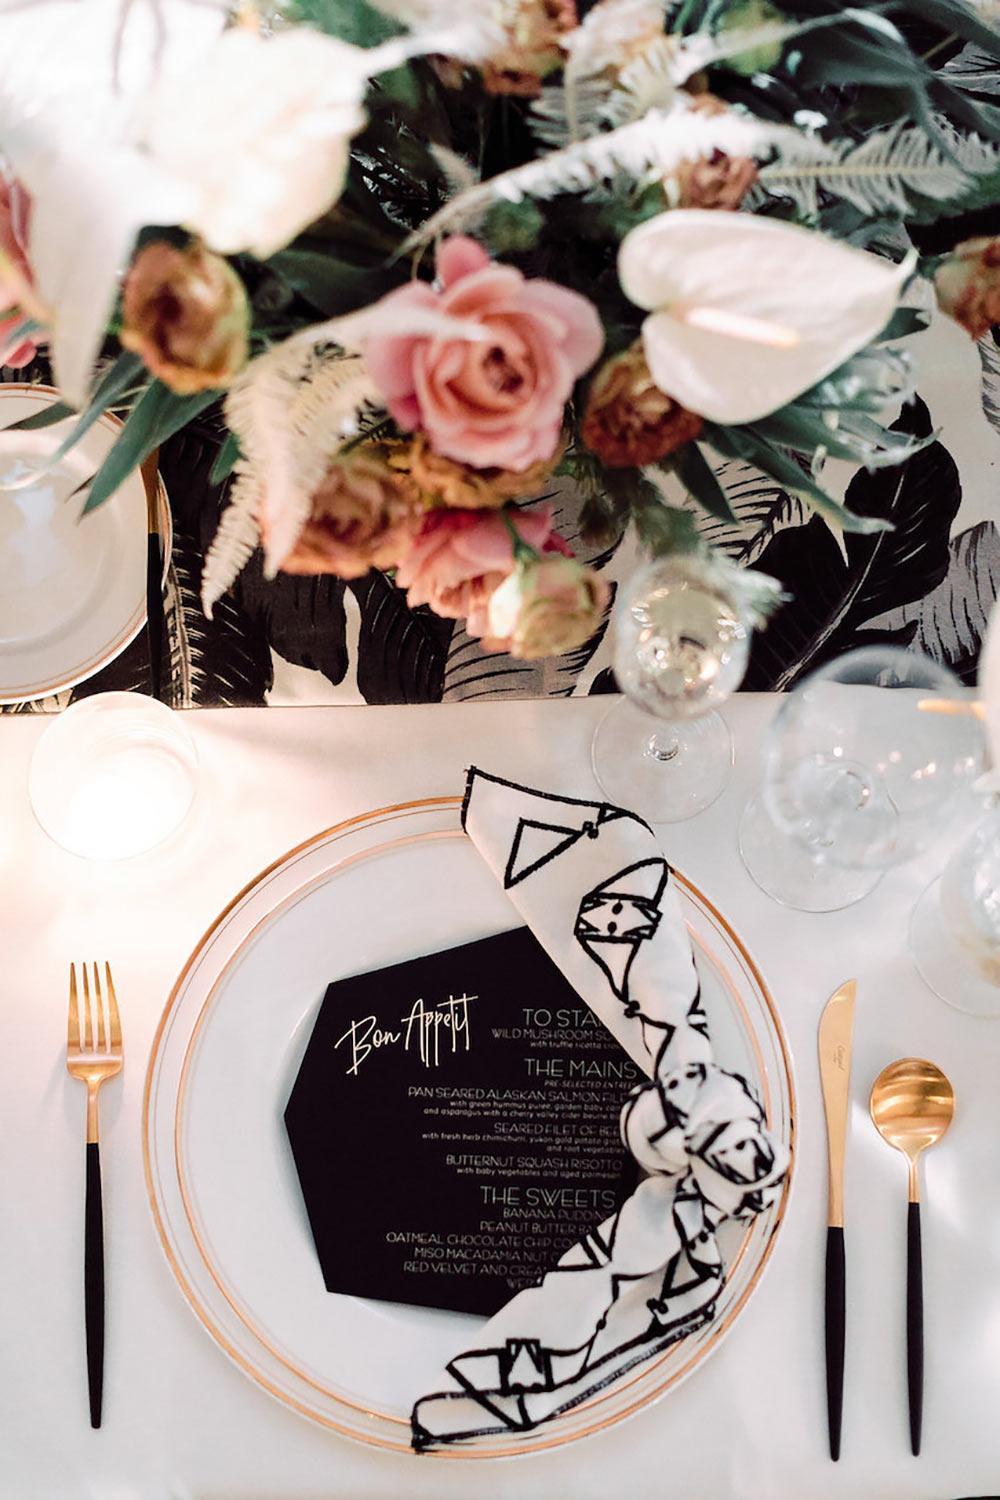
(Above photos by Jana Williams Photography)
I’m constantly shocked to see members of the event community (planner/designers, photographers) who share tablescapes on social media and have their flatware set up all wrong. Public service announcement: knives should ALWAYS be on the right hand side of the plate and the blade should always be pointed inward toward the plate. Forks are almost always on the left side of the plate, unless it’s a very informal meal where one fork and knife are placed together on the right side of the plate on top of a napkin. I may sound picky, but there is a purpose to why items are placed where they are and the etiquette of service helps make for a more successfully flowing meal.
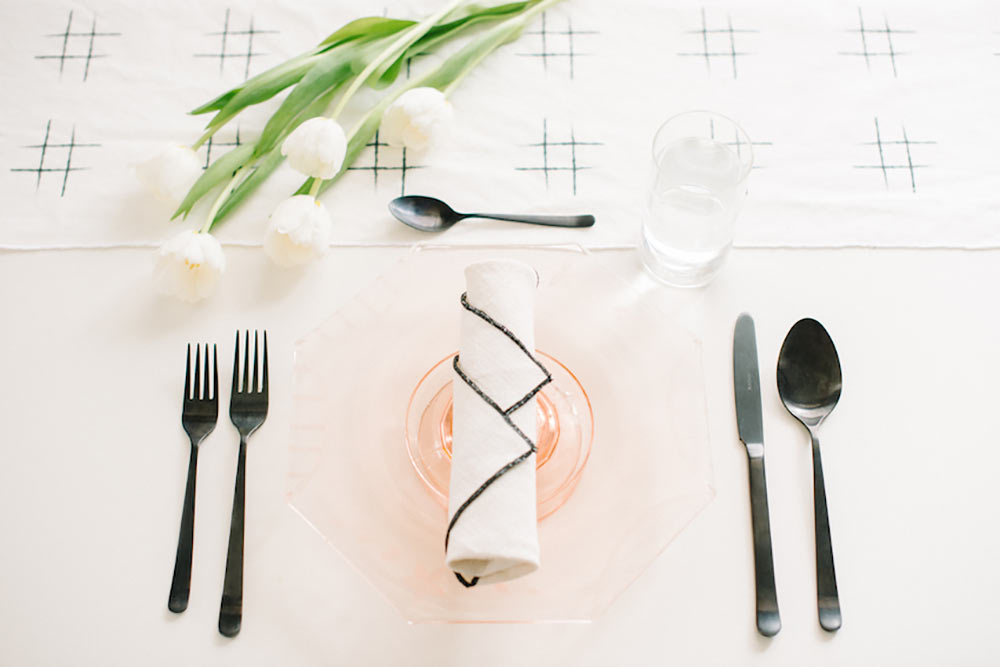
(Above photo by Krista Mason Photography)
Glassware. When it comes to glassware, it sits on the top right, above the knives. It can be varied by height, but traditionally the water goblet sits in the left-most position. If you’re offering wine pairings for each course, include a dedicated glass for each of those pairings.
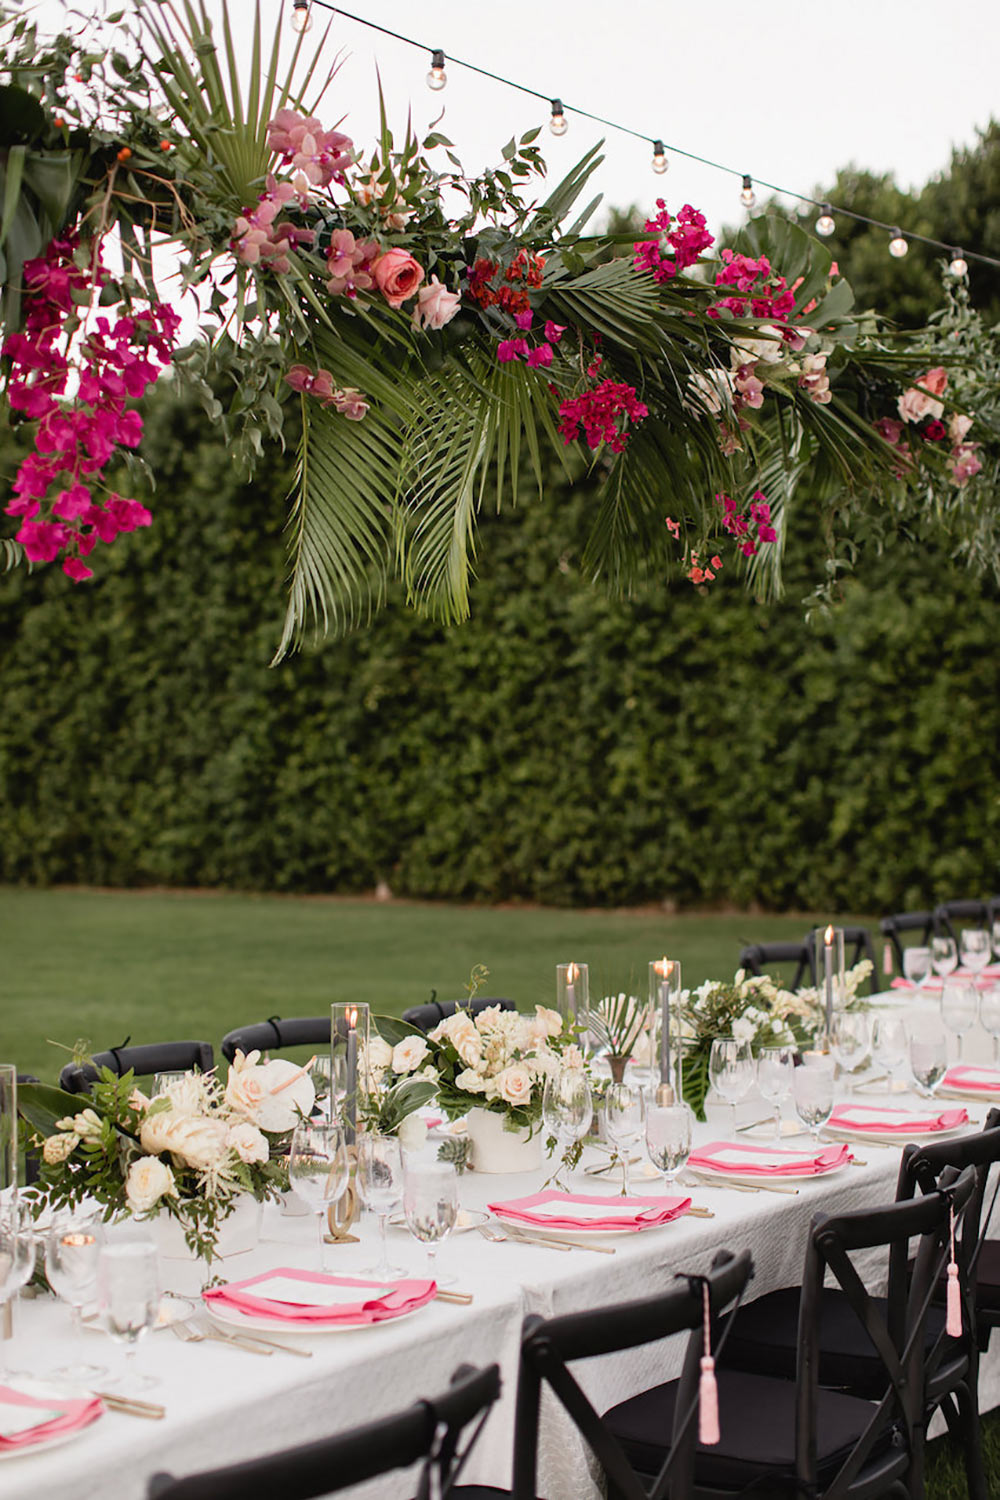
(Above photo by Max & Friends)
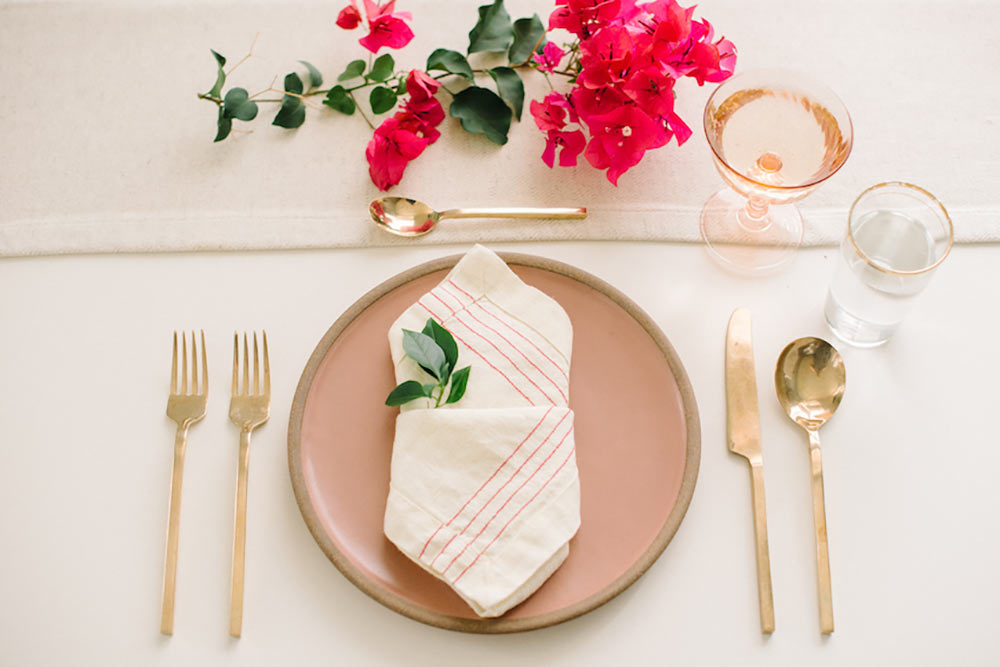
Napkins. Napkins are a key component of any place setting and, to me, they are the most fun element to work with when it’s time to create a little pizzaz in your tablescape! I get into all of the fun ways to utilize napkins in my e-course, but just know that napkins are an integral part of a comfortable meal service. Guests will interact with napkins heavily throughout the meal, so be sure they are comfortable and functional as well as great looking.
Budget Tip: It’s usually more cost-effective to dress a simple table with a linen than renting a more stylish table.
(Above photo by Krista Mason Photography)
Now for the fun part… How to style a table!
(Above photo by Max & Friends)
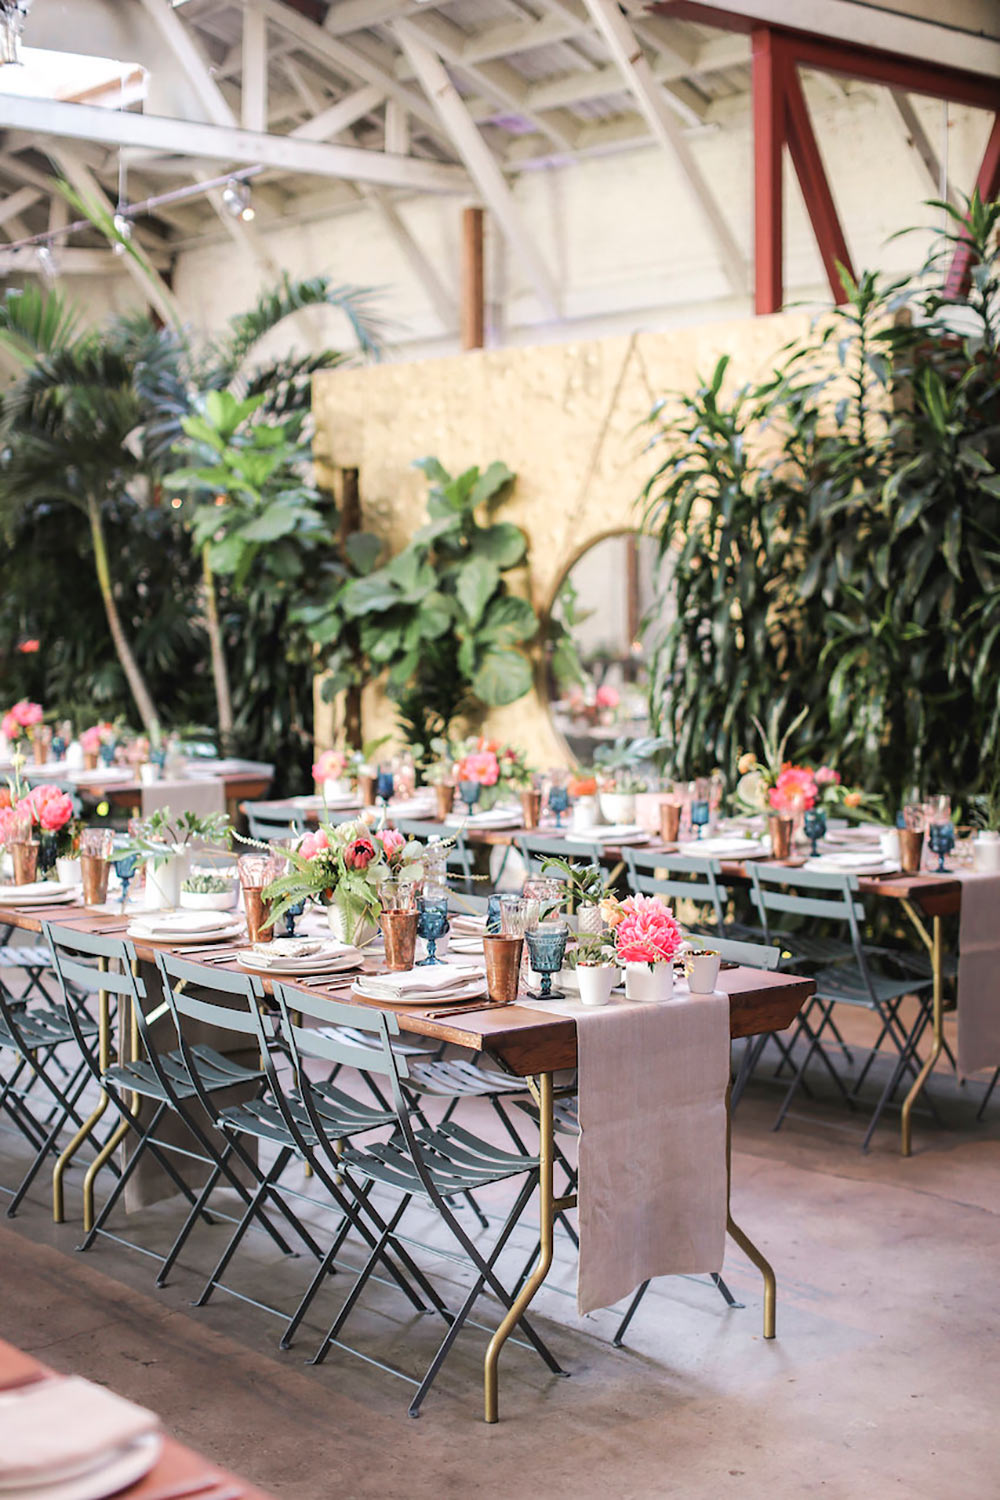
Beyond the utensils and furniture required for a meal service, we can add a variety of decorative enhancements to dress up a tablescape and infuse personality and style into the scene. As the designer of the tablescape, this is where you’ll get extra credit for creativity and attention to detail. Here is a breakdown of the optional decorative enhancements you could make to your tablescapes:
Organic elements. Floral centerpieces, fruit, sprig of greenery on the plate or napkin
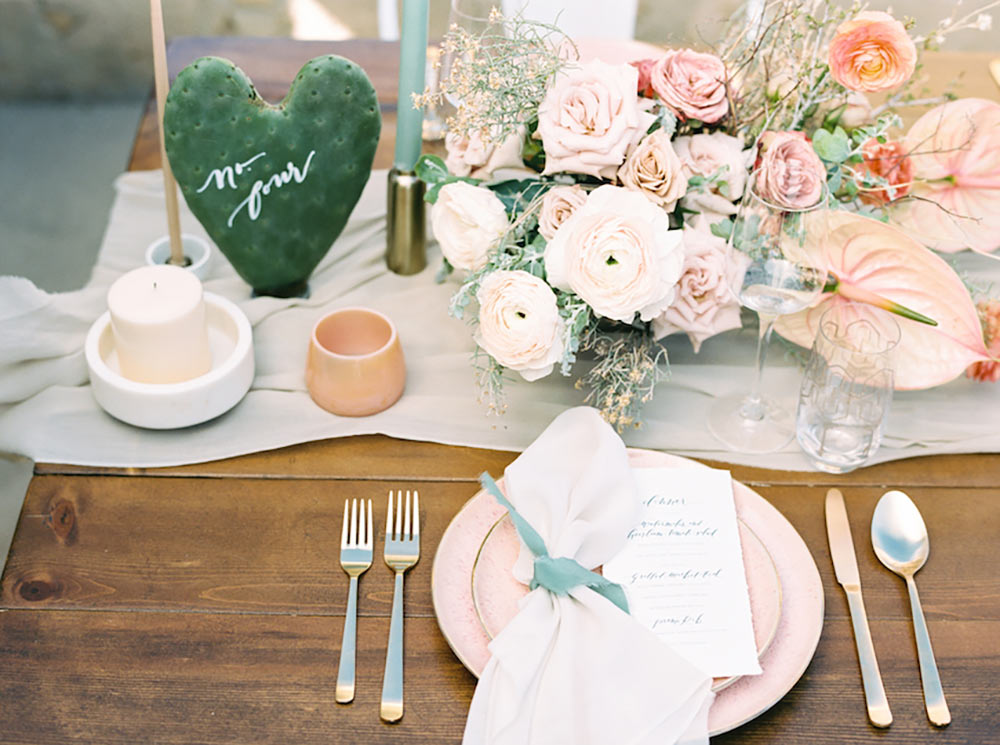
Paper items. Menu, place card
Linen. Placemats, runner
Accessories. Candles, chair adornments, napkin ring, table number or name, favor, decorative salt and pepper cellars, ribbons
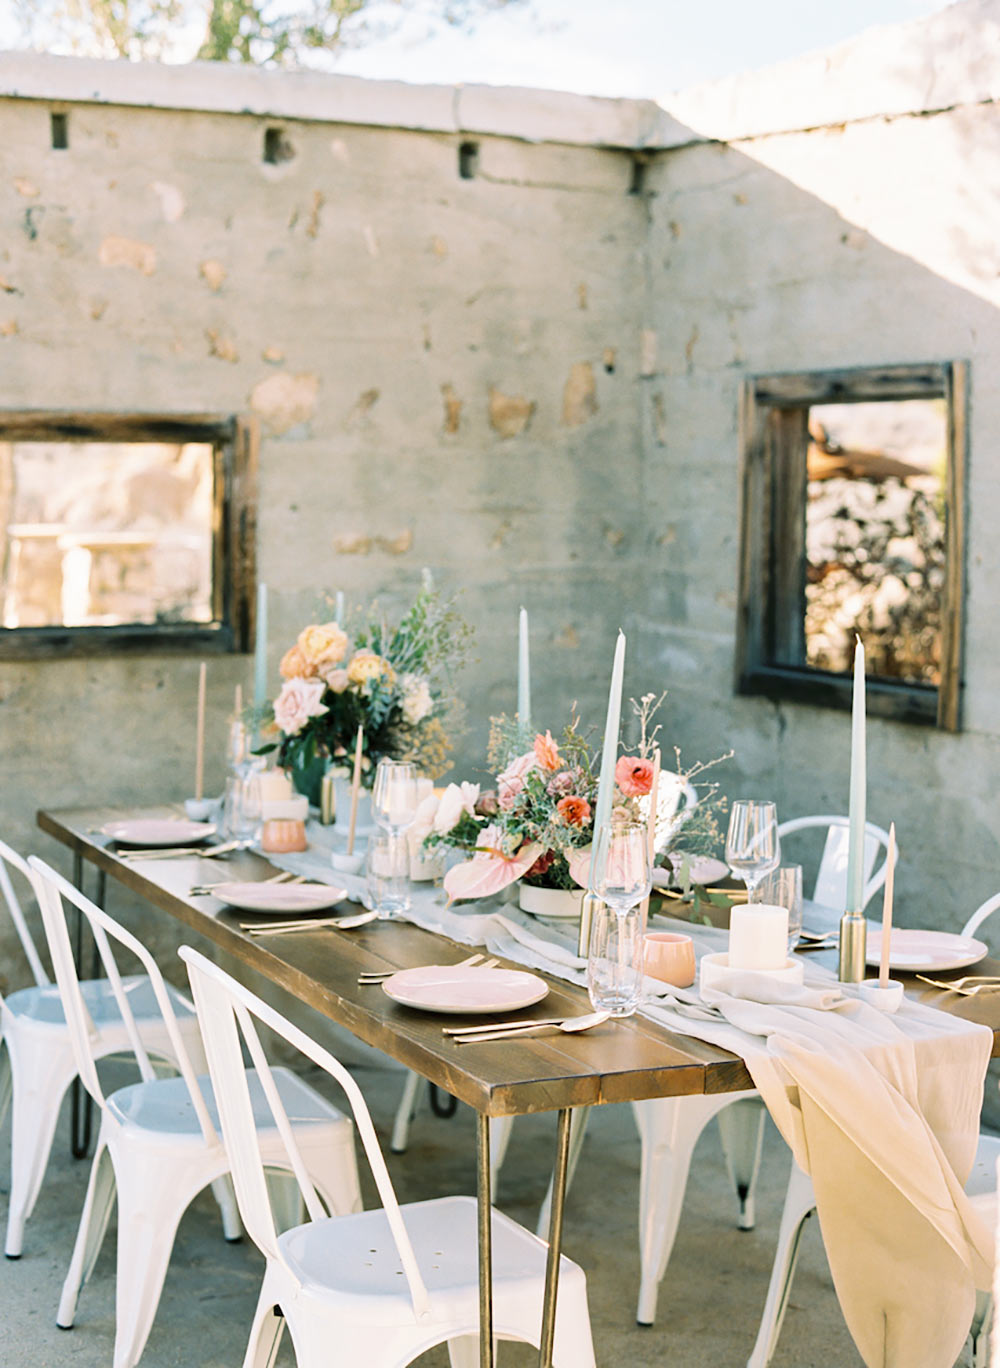
Whether you’re working with all upgraded rental pieces or a standard setup from a venue, your tablescape will look infinitely better if it’s crisply aligned and neatly organized. Make sure your flatware is parallel, that it’s uniform distance from the plate and from the bottom edge of the table, that your pieces are polished and that everything looks neat and clean. If you’re using a rectangular table, ensure the place setting across the table is lined up with the one in front of you. In the hospitality biz, we call this “detailing the table.” Make sure the setting you’re photographing for your social media feed is detailed and aligned before snapping the pic! You won’t be able to go back and straighten your knives after the photo is taken, so take the extra second to do it beforehand!
(Above photos by Birds of a Feather)
Photo Tip: Simply moving elements in and out of frame can improve your tablescape photos. Move anything that’s not an intentional design element out of the photo. Move a centerpiece in more to make the setting come alive.
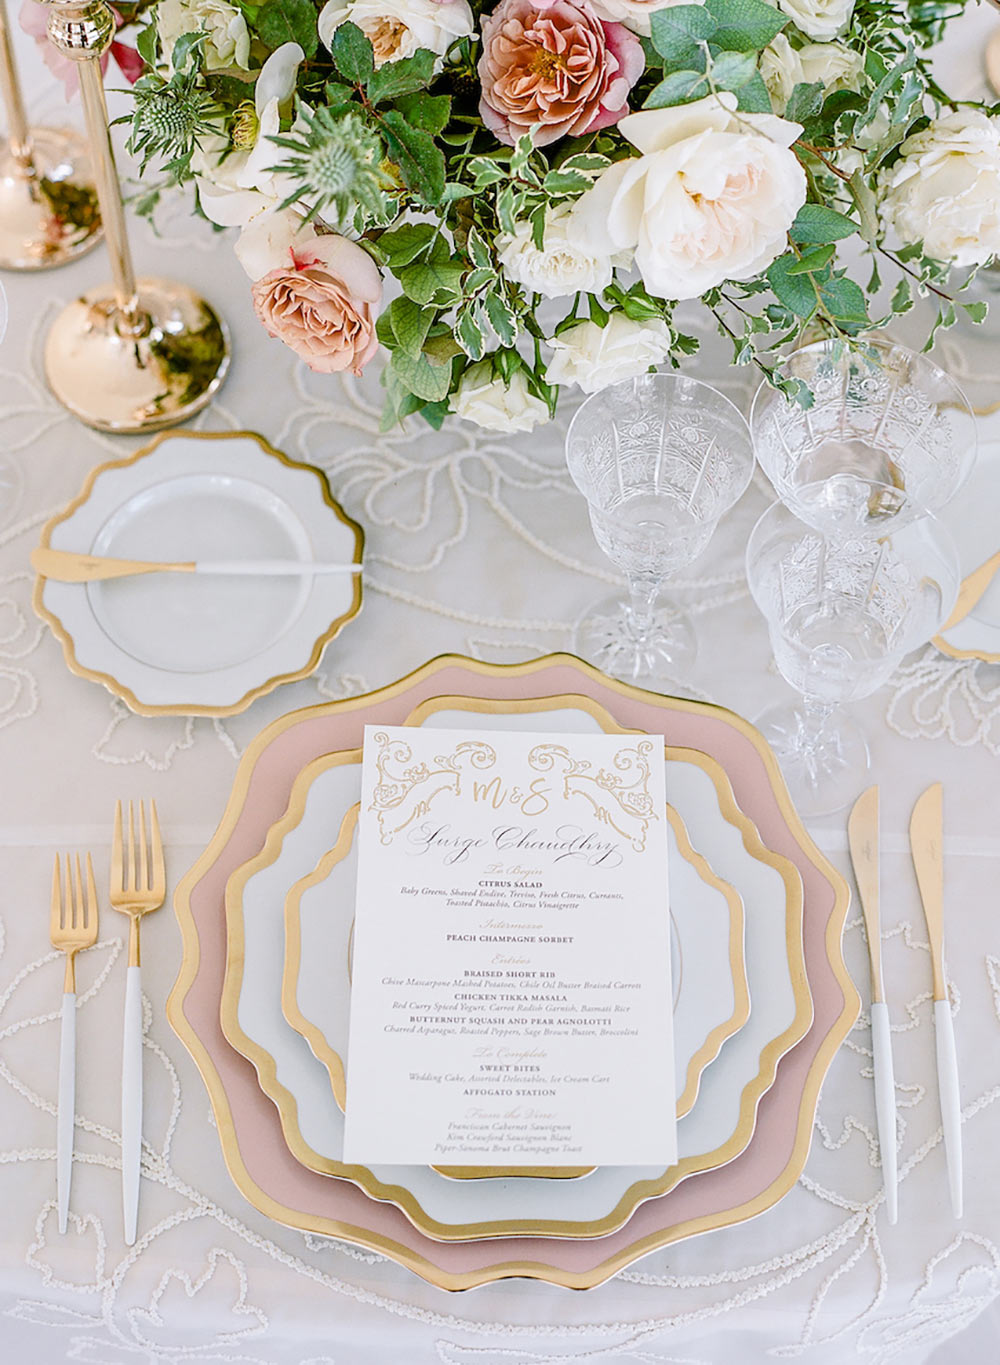
(Above photo by Rebecca Yale Photography)
You don’t need all of the accessories on a tablescape. Be intentional with your choices. You want to strike a balance between wowing guests visually and also ensuring that they have an extremely comfortable meal service. When photographing your tablescapes to show off your creativity and attention to detail, move items that aren’t serving the photo, choose a well-lit space and ultimately, only share your absolute best work with the world. One beautifully styled tablescape photo on your Instagram feed is better than 10 mediocre ones.
So true! Want to get *really* serious about setting, styling and sharing your tablescapes? Download Robin’s e-course, Creative & Resourceful Tablescape Design & Styling. 100LC readers get 20% off with code 100LC20. Click here to enroll and enter the coupon code at checkout. Can’t wait to see what you come up with!


