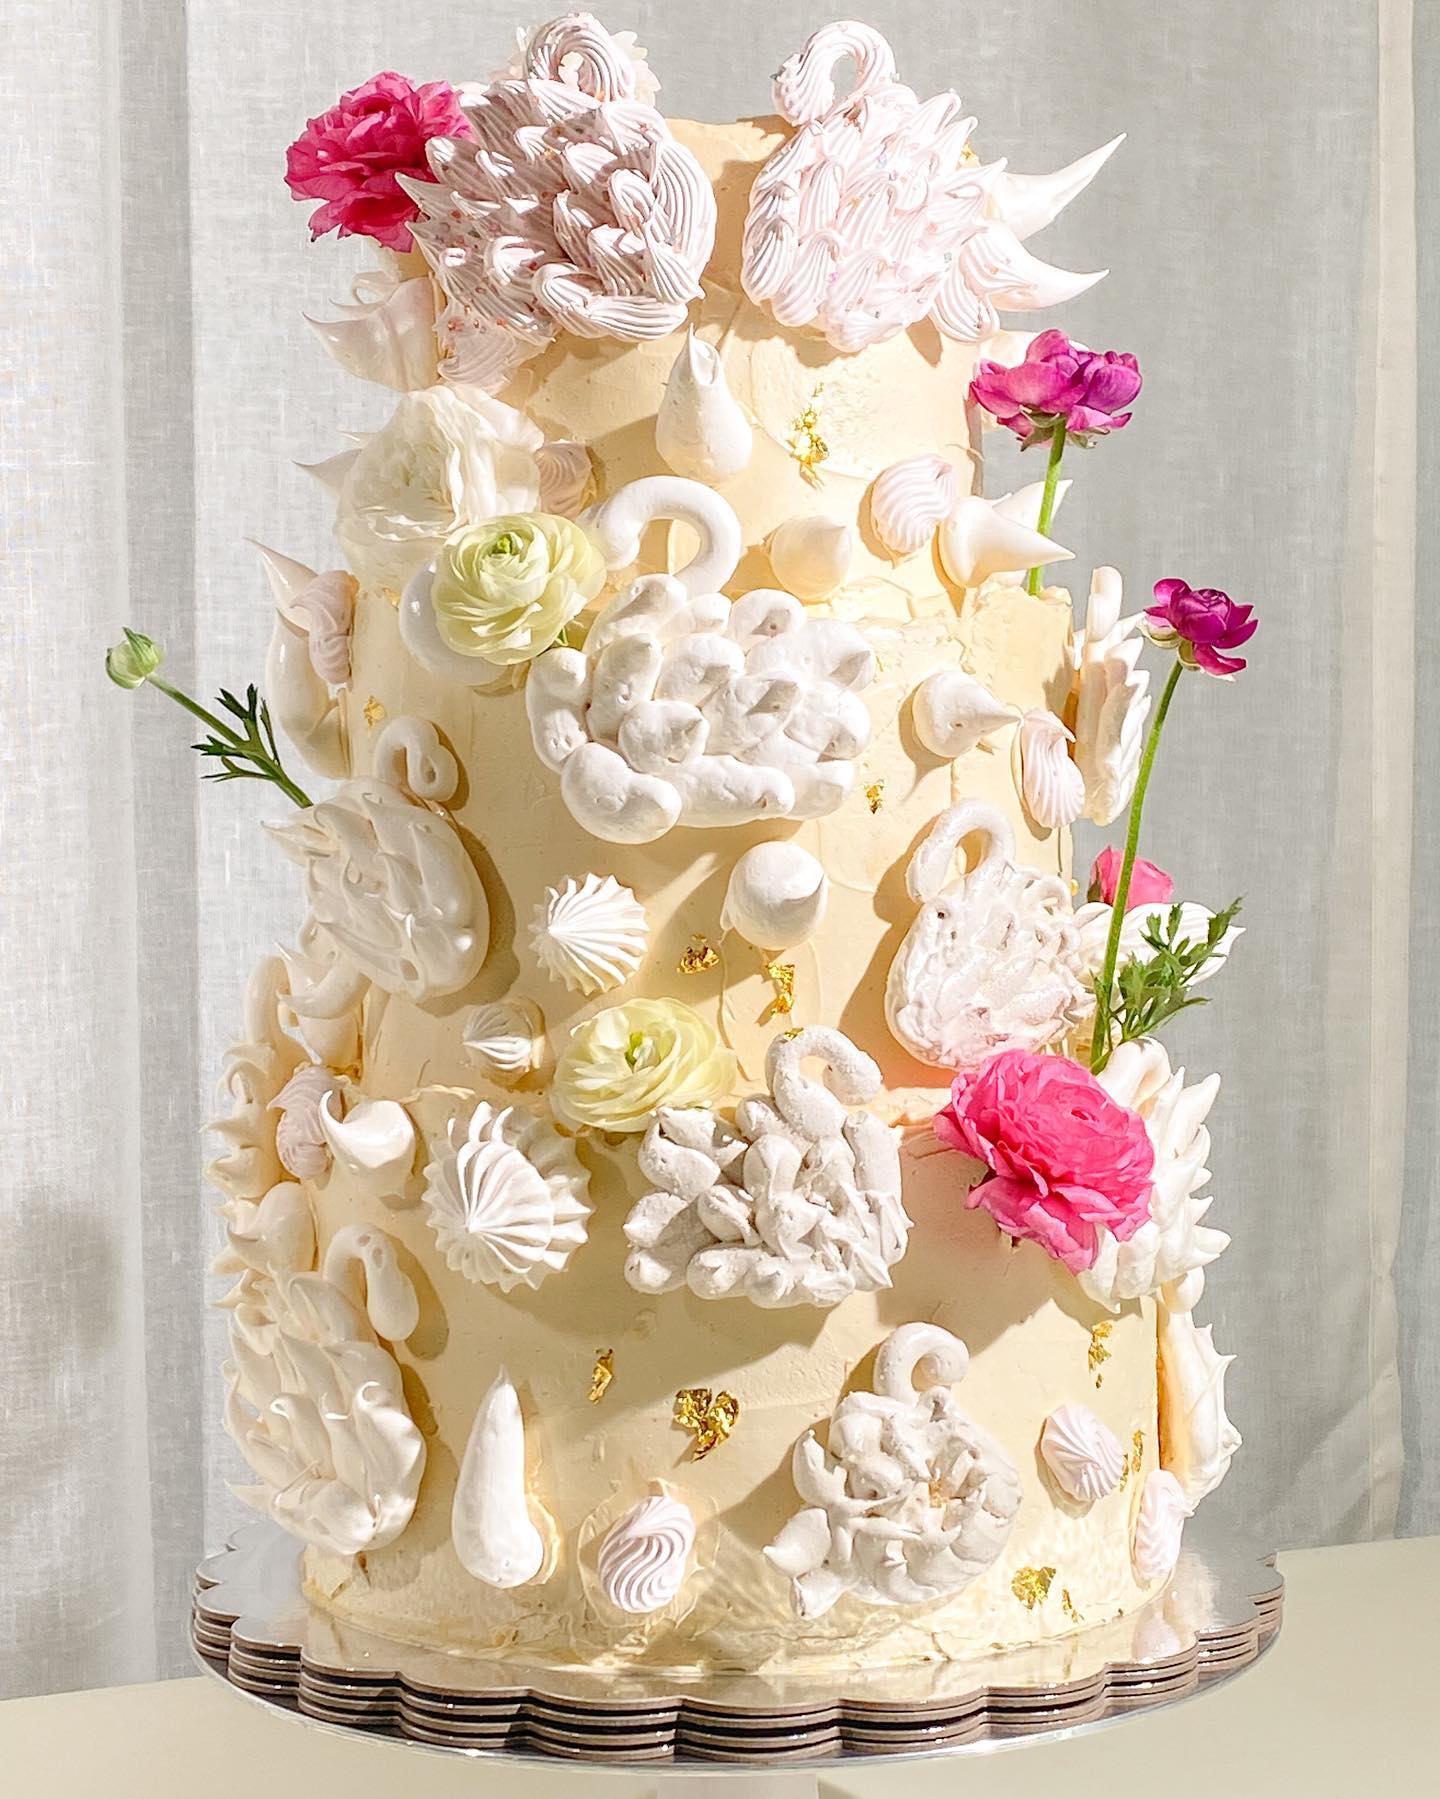
It’s been a minute since we featured the talents of Cakewalk Bake Shop (this naked cake DIY to be exact), and the day before Valentine’s just seems an appropriate time to get inspired for the weekend’s festivities. Lucky us, Apryl Ann Photography documented Emily’s latest tutorial, a delectable raspberry meringue cake for us to give a go ourselves. Yep, even you with incredible talents in areas *other* than baking can whip one up in no time at all! Thanks to Emily of Cakewalk Bake Shop for the how-to:

So many clients ask my most favorite thing that I make, and folks, this is it! The texture is melt in your mouth creamy and the flavors are the perfect combination of tart (due to the fresh berries) and softly sweet (thank you cream and meringue). But beyond just being absolutely delicious, there are two other great things about this dessert: 1) it is incredibly easy to make (dare I say, foolproof!) and 2) if you’re not feeling up to making everything from scratch, you can substitute 2/3 of the ingredients with ready made goodies. Oh, and an added bonus? It is supposed to look a little wonky! Cracks in the meringue? That’s cool! Compote and cream oozing all over the place? Just perfect! It’s an easy, messy glob of delight.
First, the individual recipes… Scroll to the bottom for the full instructions!

Meringue Recipe:
• 6 egg whites (room temp is best)
• 10.5 oz superfine sugar
• 125 g almond flour
• 1/4 t salt
• 2 t extract (we used vanilla, but almond or rose would be nice too)
• 1 drop of soft pink food coloring gel
1. Line two baking sheets with parchment paper. To keep the layers similar in size, trace a 6″ cardboard cake round onto parchment paper three times with pencil, then turn it over so the pencil side faces the baking sheet. (This way no pencil bleeds onto your meringue.) Freehand it if you’re living on the wild side! Pre-heat oven to 200 degrees F.
2. Using mixer with whisk attachment, beat egg whites and salt to soft peaks.
3. Slowly add in the sugar, 1T at a time, beating on medium-high speed to stiff peaks.
4. Fold in the extract, pink coloring, and almond meal until just combined.
5. Fill a piping bag fitted with a round tip with the meringue batter.
6. Gently pipe onto the circle forms on your parchment, carefully filling each one with batter to create a solid meringue disc. (Tip: I used my leftover batter to pipe little meringue dollops on the remaining parchment. You can then use to decorate your cake with or as a sweet little snack later.)
7. Bake for 3 hours. Turn the oven off and let cool in the oven for an additional hour.


Chantilly Cream Recipe:
• 2 c heavy cream
• 1 T vanilla extract
• 2 T confectioner’s sugar
1. Put all of the ingredients into a mixer fitted with the whisk attachment and gently mix until it becomes a thick cream. Keep refrigerated until time to use.


Raspberry Compote Recipe:
• 2 pints of fresh raspberries
• 80 g granulated sugar
• 1T vanilla extract or vanilla bean paste
• 2 t lemon juice
• 1/2 t corn starch
1. Let sugar liquify/lightly brown in a saucepan over medium heat.
2. Add berries. Stir frequently until they break down, about 10 mins, watching so they don’t stick to pan.
3. Whisk vanilla, lemon juice, and corn starch together in a small bowl. Add to the raspberry mixture, stirring until it is dissolved and thoroughly combined.

Now to put it all together…

Valentine’s Day Raspberry Meringue Cake
Instructions:
1. Start by baking several 6″ meringue disks. These will be the “cake” layers in your masterpiece. While this step takes little effort, it takes a considerable amount of inactive time.
2. Place your first disc onto your cake stand and gently lather the top with a homemade compote or store-bought jam. The meringue, though hard, will crack easily, so be gentle and avoid adding pressure as you move across the surface. To ensure a nice oozy effect, I spread mine all the way to the edges of the disc.
3. Spoon the chantilly cream onto the compote layer and similarly spread out a thick layer. If you don’t want to make your own cream, marscapone is a great creamy substitute.
4. Next, drop those berries! Sprinkle them all over the top of the cream, as many or little as you’d like.
5. Fruit and berries are the traditional ingredient, but we put a Valentine’s spin on it by tossing in some of our fave v-day candy: Sweethearts and chewy heart gobstoppers. I like to sprinkle Sweethearts around the exterior so that when it’s all together they are peeking out and you can read those special messages.
6. Repeat steps 2-5 twice more, until cake is three layers of meringue high. Take care with top layers as those are the ones eyes will gravitate to. Also, it’s gaining height and weight, so try not to put pressure.
7. For a little luxe treatment, I added my signature gold speckling. Everything is better with gold, right? Just mix edible luster dust (found at a cake supply shop) with a tiny bit of extract or vodka (they both dry fast, and the latter is tasteless if you can believe it) to create a thick paste. Then, use a food safe brush to splatter the top with gold. I wave mine in the air like I just don’t care or hit the brush against my free hand so that the brush itself never touches the cake, but the gold dust paste splatters off and onto its surface. This is really fun and really messy, so maybe put some paper towels or a drop cloth down first, ok?
8. I tossed a few meringue drops I baked with extra batter and tiny floral blooms Bows + Arrows left for me in her studio. Get creative with pink textures and toppers to make a fun little Valentine all your own.
It is best to consume same day. The meringue will grow softer as it’s layered with cream and compote, possibly causing the structure to dwarf and crack a bit. Keep air tight in fridge for up to two days.
BIG thanks to Cakewalk Bake Shop + Apryl Ann Photography! Can’t wait to try it! xoxo


